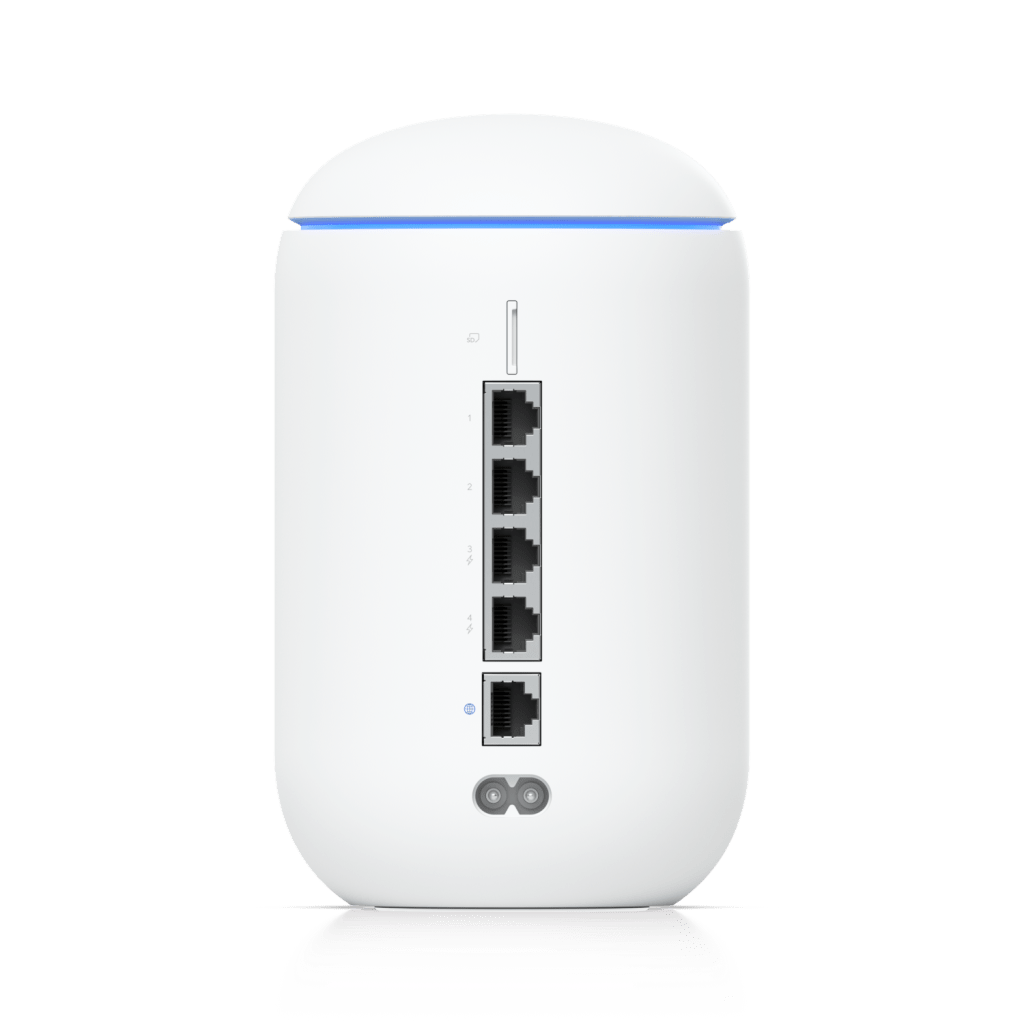
Okay, so I sold off all my server equipment. I decided against using pfSense, and I wanted something more simple, but still powerful enough to create VLANs and firewall rules. I talked to the IT department at work and they recommended Ubiquiti. I had heard of Ubiquiti before, and had heard generally positive things about them. At this point, I was getting desperate and was willing to pay a bit extra to get the functionality I wanted. Well, much to my dismay, their products were having stock issues due to the pandemic. I wanted the “Dream Router” but all they had in stock were their very expensive, rack-mount units (of course).
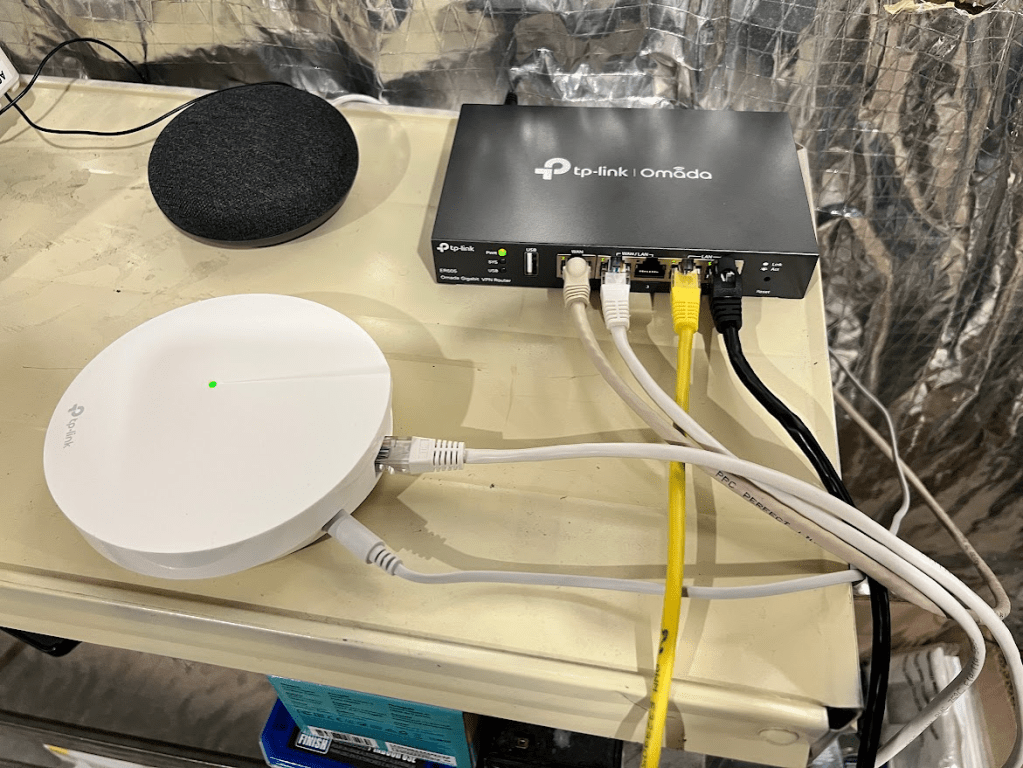
It was time to pivot one last time. During my search for Ubiquiti alternatives, I found out that TP-Link had recently entered the small business networking segment under their “Omada” line. I was very interested, as I am generally a fan of TP-Link products. I purchased the basic ER605 router. I set it up using my mesh routers as access points and I was able to get my network functional. I set up VLANs in the router, but didn’t understand how to actually get each device onto the VLANs and I also wasn’t sure how to set rules for each VLAN to block internet for some of them. I tried for a few days but was unsuccessful, and I sent it back.
I continued to research how VLANs worked, watched hours of YouTube videos on how to set up a basic Omada network, and decided I was ready to try again. I purchased the same router, but this time I also purchased an Omada access point – capable of VLAN tagging and multiple SSIDs. Surely I would be able to figure it out this time!
I was able to figure out how to set up VLANs and organized my network exactly how I wanted. I segmented it into 4 VLANs:
- VLAN10 – Administrator
- VLAN20 – LAN Access Only
- VLAN30 – WAN Access Only
- VLAN40 – Guest Network
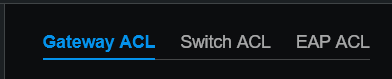
Everything seemed to be going well, until I tried setting Access Control List (ACL) rules to determine exactly what each VLAN could do. At this point, my setup consisted of the ER605 router with two hard wired computers and a hard wired access point. I also set up a virtual machine on one of my servers to run the TP Link Omada Software Controller that provided an easy-to-use GUI for managing all of the Omada equipment together. The software provided options for Gateway ACL, Switch ACL, or EAP ACL. I figured one of these would have to work, but had difficulty understanding what they did. After some trial and error, I was able to block internet to the VLAN20 using a Gateway ACL. However, it seemed like the Switch ACL didn’t do anything when I was using the ports of the router as my “switch”.
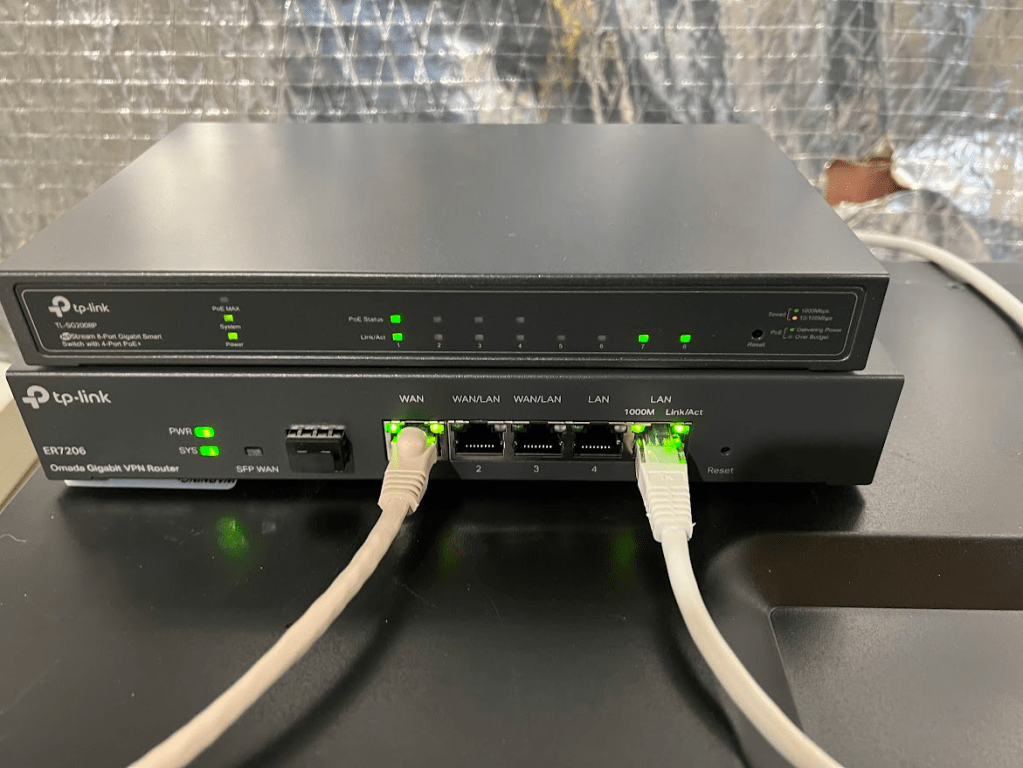
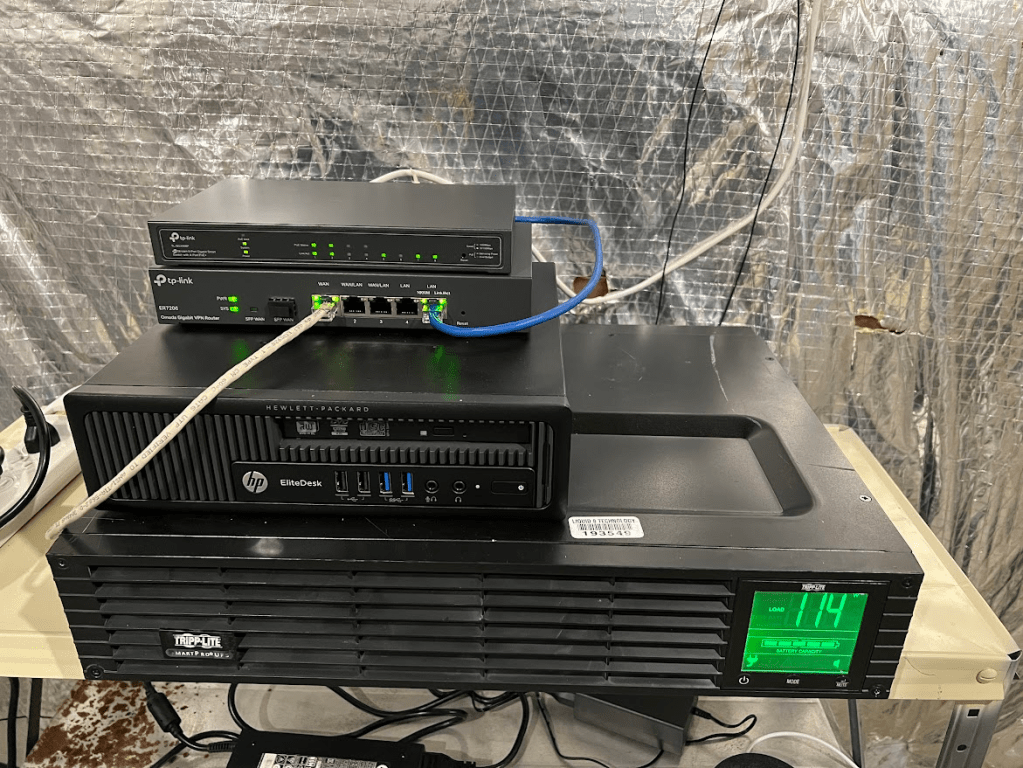
Turns out I needed to purchase another piece of equipment – a managed switch. I also found out that the ER605 didn’t support mDNS, which essentially allows you to cast things across VLANs. The larger ER7206 did support this, however, so I returned the ER605 and purchased an ER7206 and a TL-SG2008P managed switch (with PoE). I got the PoE variant to make network upgrades easier in the future and it let me get rid of the PoE injectors that I had been using to power my access point.
Finally – I had hit a winning combination. I set up my VLANs easily, copying what I had done with my ER605, but now I was able to use “Switch ACLs” to define VLAN ports for each Ethernet port as well as inter-VLAN rules. I successfully blocked internet to VLAN20 and blocked LAN access to VLAN30, while still providing communication to my Home Assistant server. It had been a long road to get here, but my network was now operating pretty much exactly how I wanted. mDNS was still spotty and slow, but that was a defeat I was willing to accept.
The next issue that needed to be tackled was allowing secure access to my home network while I was out. If you’ve ever listened to a podcast or watched a YouTube video, you’ve heard ads for VPNs. Well it turns out they’re good for more than just watching Netflix shows from overseas. They can also allow you to access your home devices while you’re away – just the thing I was looking for. Instead of connecting to a remote server somewhere, I would be connecting directly to a server inside my own network, or in this case, my router.
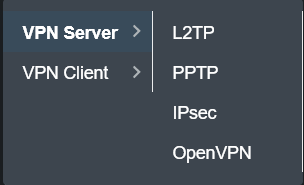
At the time, the ER7206 had built in VPN functionality, with support for L2TP, PPTP, and IPsec. I was able to set up an OpenVPN server on the router and got it connected to my iPhone, but wasn’t happy with the speed or the inability to switch between WiFi and cellular while retaining a connection.
That’s when I came across WireGuard – a newer alternative to OpenVPN that was also purported to be faster and more lightweight than OpenVPN. Unfortunately, WireGuard hadn’t been implemented in the ER7206 at the time, so I had to find an alternative solution. I thought about using my Plex/Home Assistant server to run my WireGuard server, but my Plex server wasn’t as reliable as I liked, and had a lot of other programs running on it already. I wanted a new server that would have better uptime, as I planned on running a full tunnel on my phone – essentially sending all my data through my home network instead of just specific programs. I found a local computer refurbishing center and purchased an HP EliteDesk 800 for $100 and my collection of networking hardware/servers was complete (at least as of writing this article).
I configured my new server to run WireGuard as well as the Omada Software Controller and got WireGuard set up on my phone. I was really impressed with the speed and the ability to switch between networks without losing a connection. What a relief – everything worked as I had originally envisioned now.
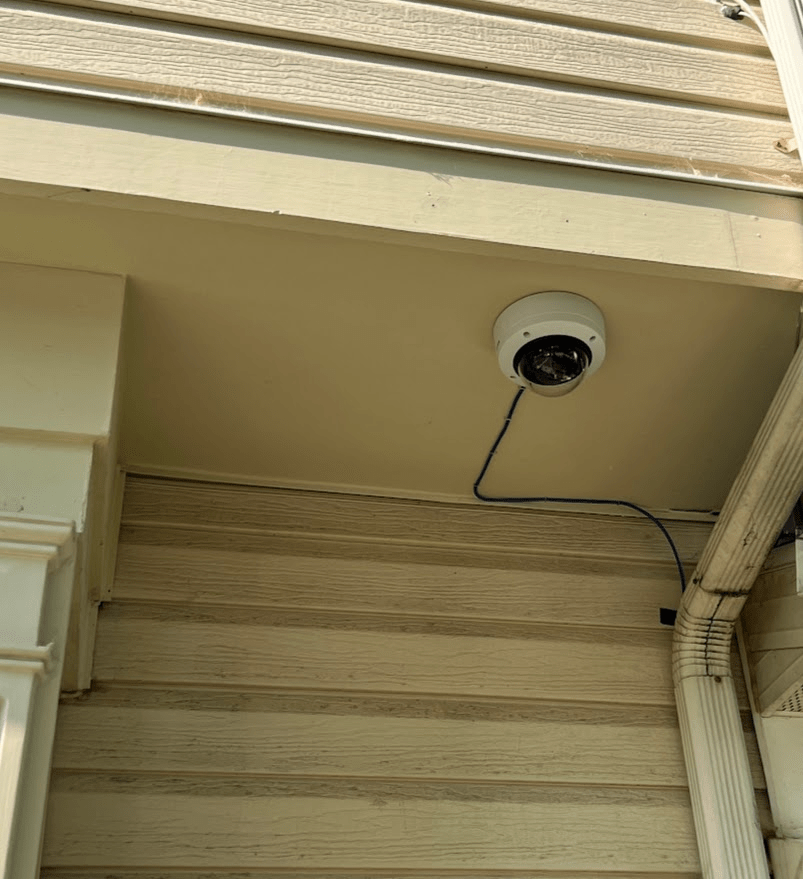
Around this time, I was sent to an AXIS Network Video training class, where I was certified for Network Video. At the end of the class, they gave each of us a brand new AXIS camera, which normally sell for around $700. I thought about selling it, but I decided to keep it and add it to my hardware portfolio. The camera worked really well, and I was able to use it directly using the AXIS Companion software on my phone, but it had so much more to offer if I set up the Video Management Software (VMS), Axis Camera Station, so I installed it on my new server. After a good amount of configuration, I got it working. Now I had an incredible view of my front yard – not the most interesting use case for a security camera of this caliber, but it was a lot more reliable than my Google Nest doorbell which had a tendency to start buffering whenever I wanted to see who was at the door.
The last thing that I decided to install was network-wide ad blocking. I had briefly set up Pi-Hole on a Raspberry Pi Zero in the past, but it didn’t seem to do a very good job removing ads from websites or my smart devices (such as my Roku TV). I decided to try out AdGuard Home, a similar offering that seemed a bit more powerful. It was a breeze to set up and worked surprisingly well – removing ads from my TVs and providing a small layer of added security from malicious ads to my whole network.
With that, I was finished. The following is my network as it currently stands:
- VLAN10 – Administrative (Full Access)
- VLAN20 – LAN Only (Smart Switches and Lights, Offline Cameras)
- VLAN30 – WAN Only (Streaming Boxes, Smart Speakers, Doorbell Camera)
- VLAN40 – Guest Network (WAN Only)
- Server 1
- Plex Media Server
- Home Assistant
- Server 2
- AdGuard Home
- WireGuard VPN Server
- Omada Software Controller
- AXIS Camera Station
At some point, I would like to move my Home Assistant installation from Server 1 to Server 2. As I mentioned earlier, Server 1 is a bit less reliable and is set up to restart each day to keep things running optimally. Generally speaking, I am really happy with how everything turned out. It took a lot of work to get here, but it was worth it! I had a lot of fun, learned a lot in the process, and now I’ve got a much more secure network with way more functionality than I had before.
Until next time!
-Max
